The recommended settings to set up
email on any device can be found here.
The following explains in more detail how to set up your domain's
email account with the default mail
client in Windows
8. If you
use an alternate email program,
this tutorial will not be useful.
Your settings for IMAP Mail can be
found by visiting your Netadmin.
You may have to consult with your administrator or hosting account
owner for this information.
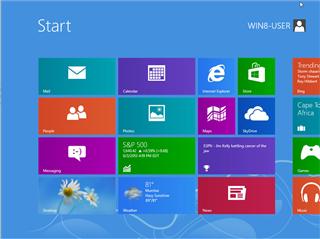
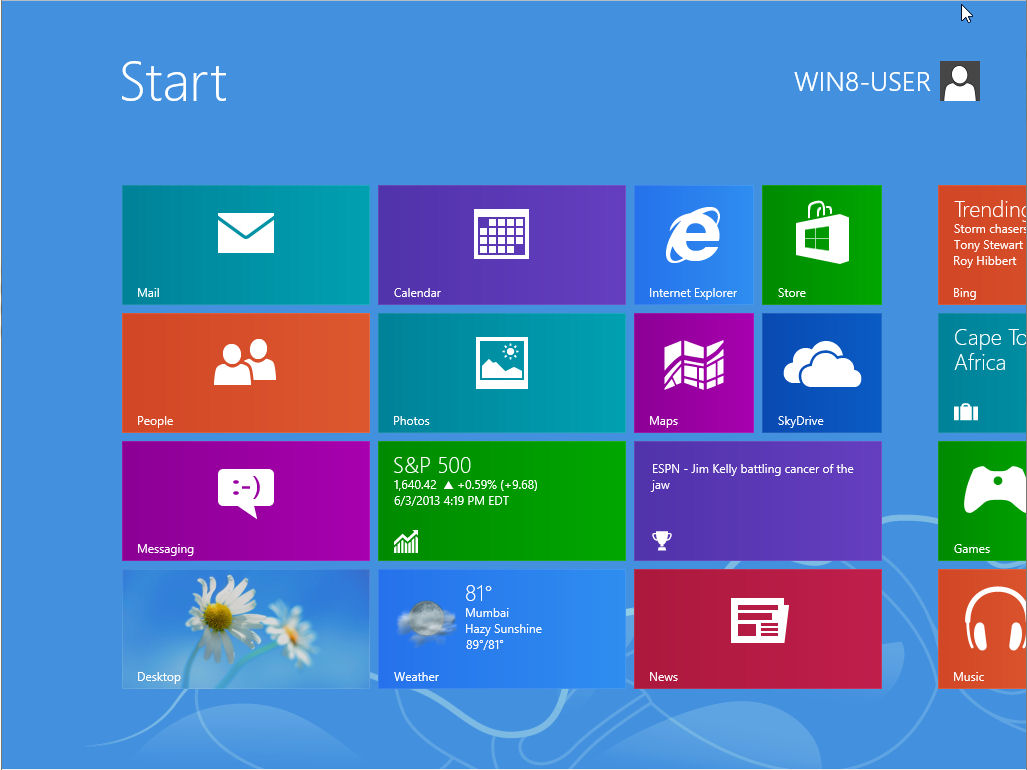
1.On the Start
Screen, select Mail.
NOTE:
If the mail program is not installed,
visit the Microsoft Store
to download and install the application(contact
your
IT representativeor Microsoft
for assistance)
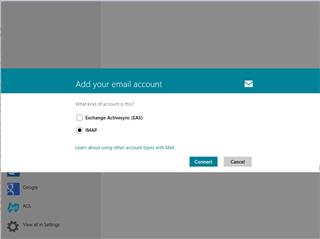
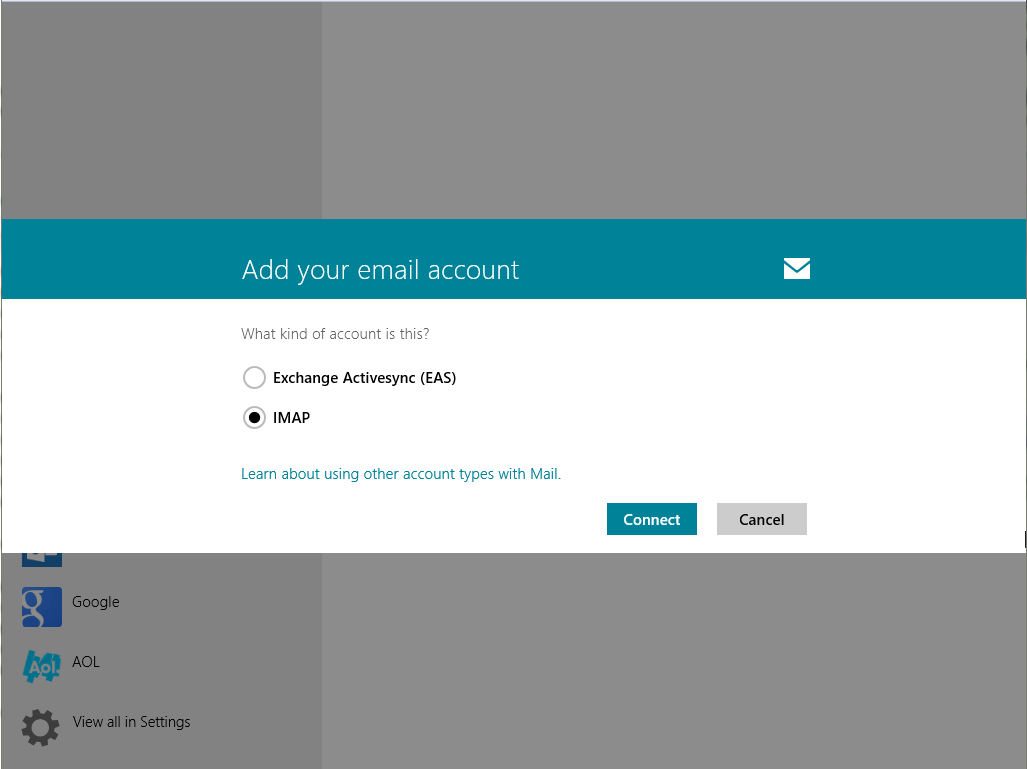
2.
Choose IMAP.Ifyou
already have an email account set up on this computer,
skip to step
(10.
Add Another
Account), complete steps (?-?)
to add a new account, then return to
this step.
NOTE: You may see an option for
POP3 if you have
an older version of the Microsoft
Mail application.
POP3 is not supported in this mail application.
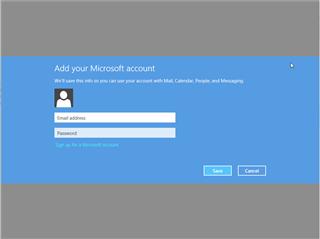
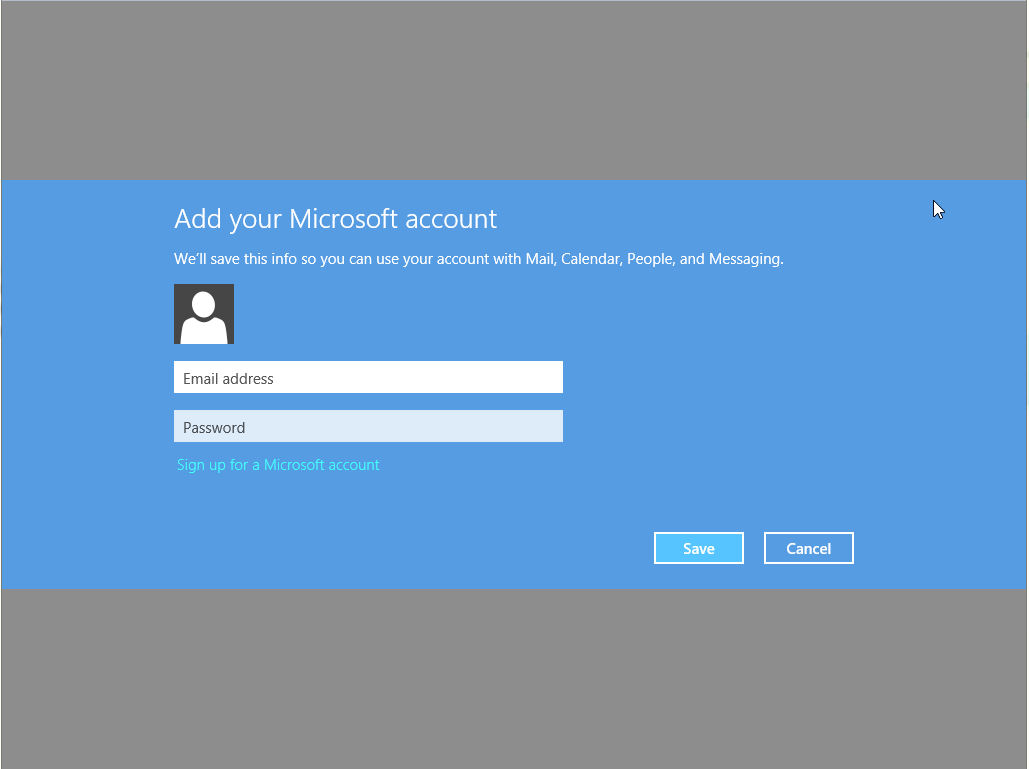
2b.
Microsoft
requires you to have a Microsoft
account to use their included
applications. If
you have
not entered your
Microsoft account on this computer,
you will need to do that or create an account
now.
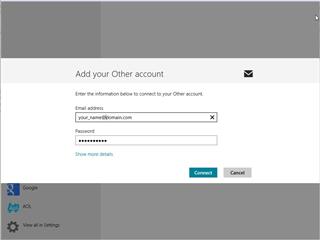
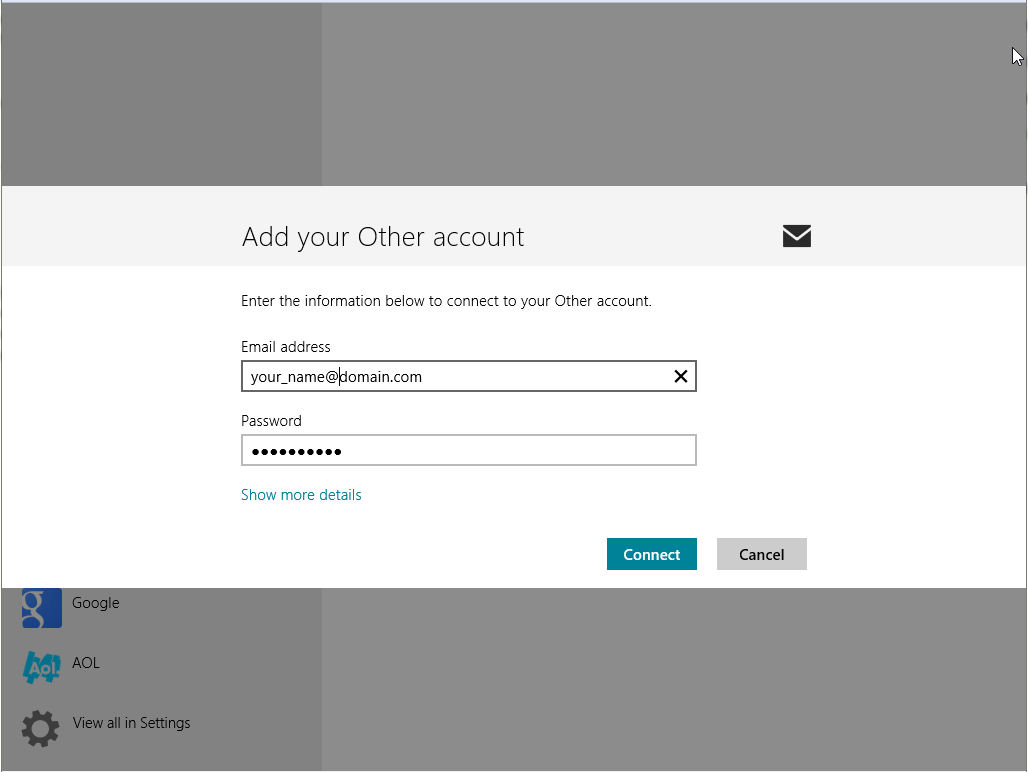
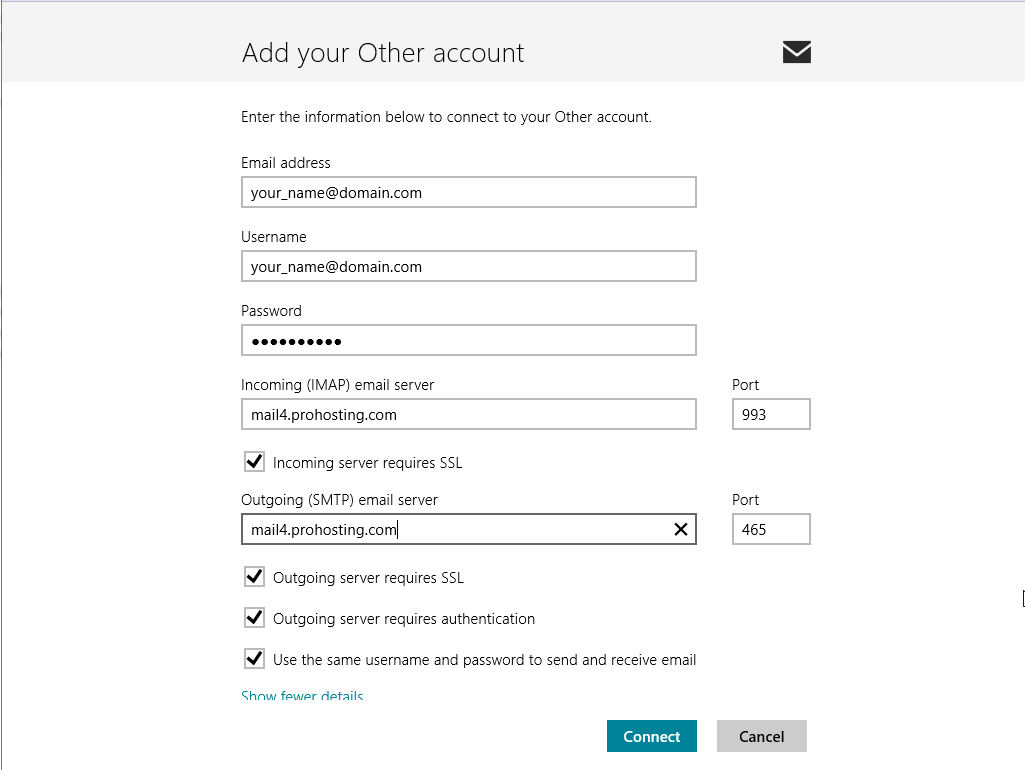
3. Enter your
FULL EMAIL ADDRESS and PASSWORD. Then click
SHOW MORE DETAILS.
5.
EMAIL
ADDRESS should be
populated. Your Username is also your FULL
EMAIL ADDRESS. PASSWORD
should be populated.
6. Populate the Incoming Mail Server:
RECOMMENDED SETTINGS
->For POP on SSL or IMAP set up, enter to correct Host Name for your account. It will be something like mailX.prohosting.com where the X should be replaced with the correct server number for your account. Do not use mailX.prohosting.com for the Host Name, it will not work.
The correct mail server or Host Name can be found by
visiting the Email Setup Info section of the Netadmin control panel. If you do
not have access, you should be able to consult your administrator/account owner for this information,
or contact ProHosting. Incoming Port: 995(POP) 993(IMAP). Outgoing Port: 465.
7. Typically, the remaining fields are correctly populated by Windows 8
Mail. All boxes seen at the
left should be checked.
8.
Click CONNECT.
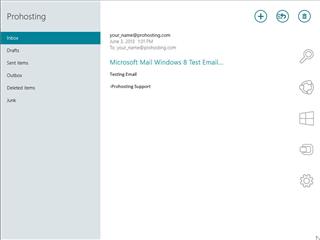
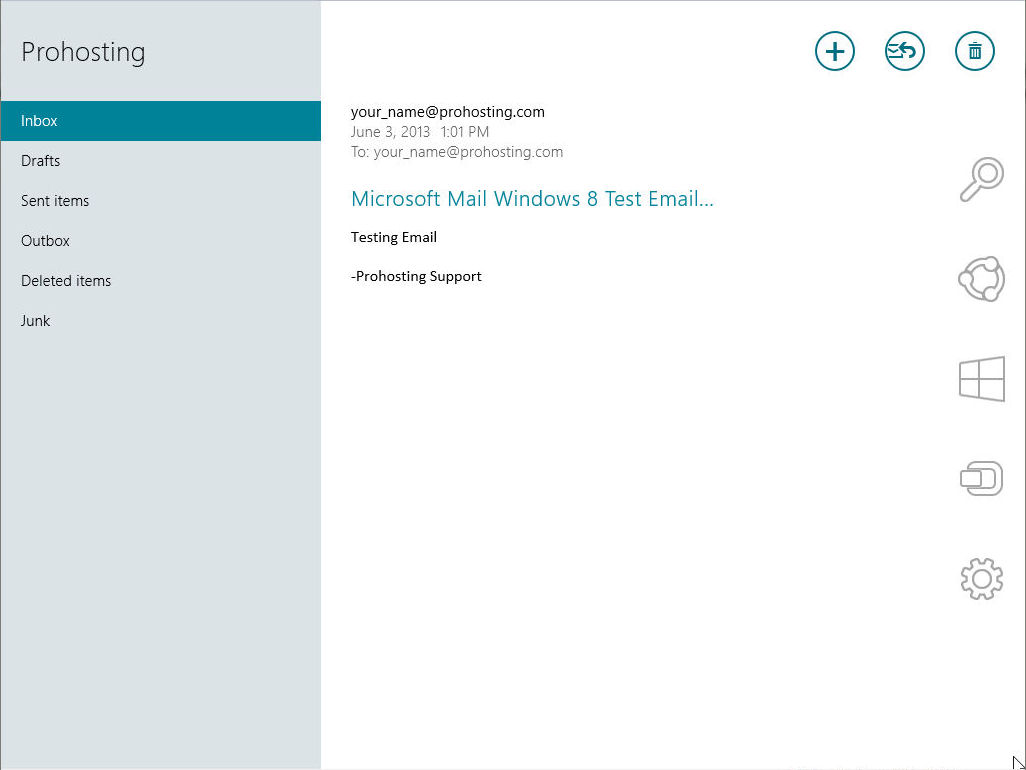
9.
Your email account should be ready,
and your INBOX
should now start populating
with any emails currently
on the
server.
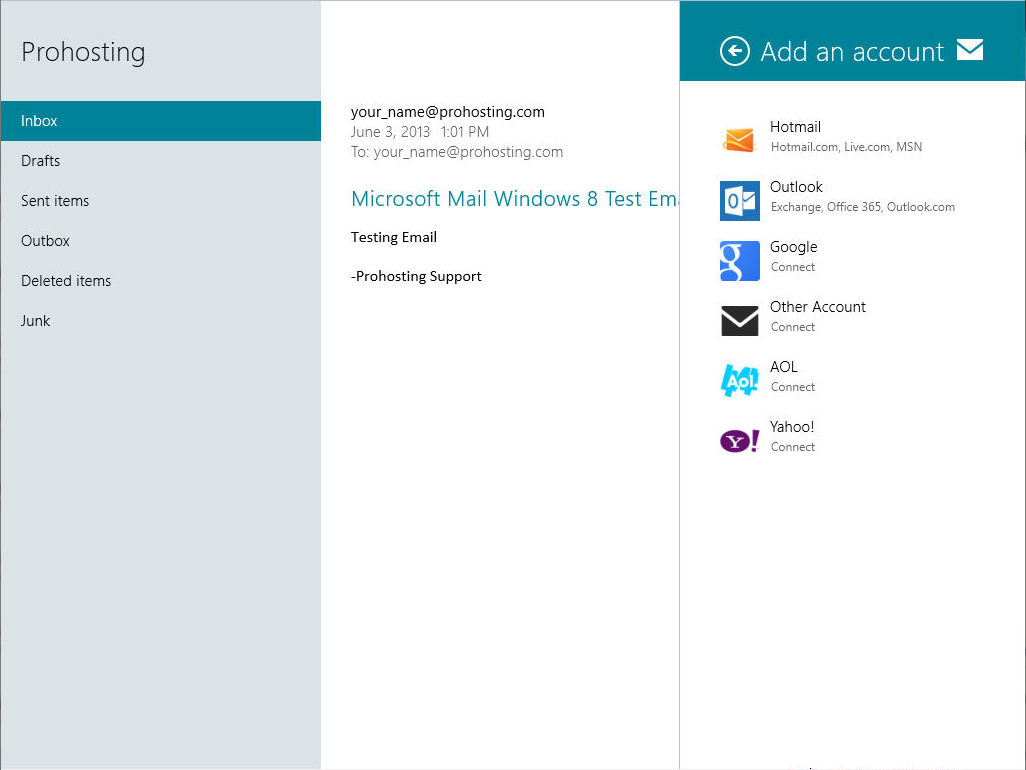
ADDING ANOTHER
ACCOUNT:If you
already have an email
account, and are
adding another to
view with Windows Mail, you will need to do the
following:
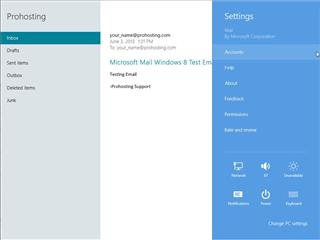
10.
Move mouse the bottom
left or upper right corner of MAIL
application.Several icons
will appear from the right. Click on the
'GEAR' (settings)
icon.
11.
Choose ACCOUNTS.
12.
For any ProHosting
hosted account, choose OTHER ACCOUNT. Return to Step 2 in this
tutorial and complete through Step 9.
/Setting Up Email on Windows 8 Mail Application
ProHosting has hosted over 2,123,705 web sites since 1996!