|
Set up your email account manually
Please make sure that you know the email settings for your account. Then follow these steps:
Go to Settings > Passwords & Accounts, then tap Add Account.
Tap Other, then tap Add Mail Account.
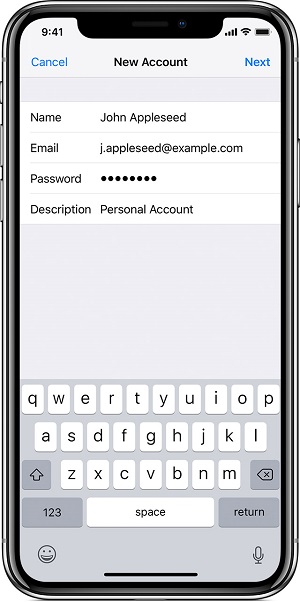
Enter your name, email address, password, and a description for your account.
Tap Next. Mail will try to find the email settings and finish your account setup.
|
|
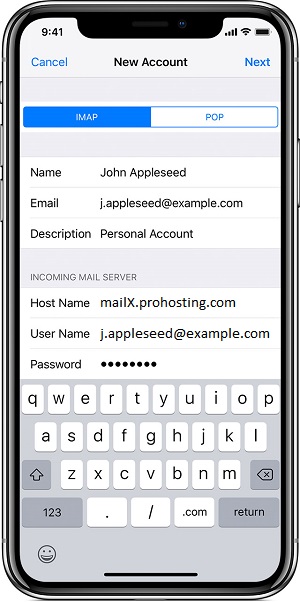
Choose IMAP or POP for the type of account. If you're unsure, select IMAP.
Enter the information for Incoming Mail Server and Outgoing Mail Server (including the User Name and Password). Then tap Next.
If your email settings are correct, tap Save to finish. If the email settings are incorrect, you'll be asked to edit them.
Do not use "mailX.prohosting.com" for the host name as shown in the image. Please login to the Netadmin control panel and navigate to the Email Setup Info section for the correct information for your account.
|
